Pictures and instructions for store kits

Monday, April 25, 2011

Mini Stationary Set Instructions


Mini Stationary Set


Apply adhesive to side bottom flaps on front piece, and side and bottom flaps of back piece, as shown above.


Attach back bottom flap to front bottom flap, as shown above.


Attach front side flap tabs to bottom, as shown above.


Attach back side flaps to front sides, creating box, as shown above.


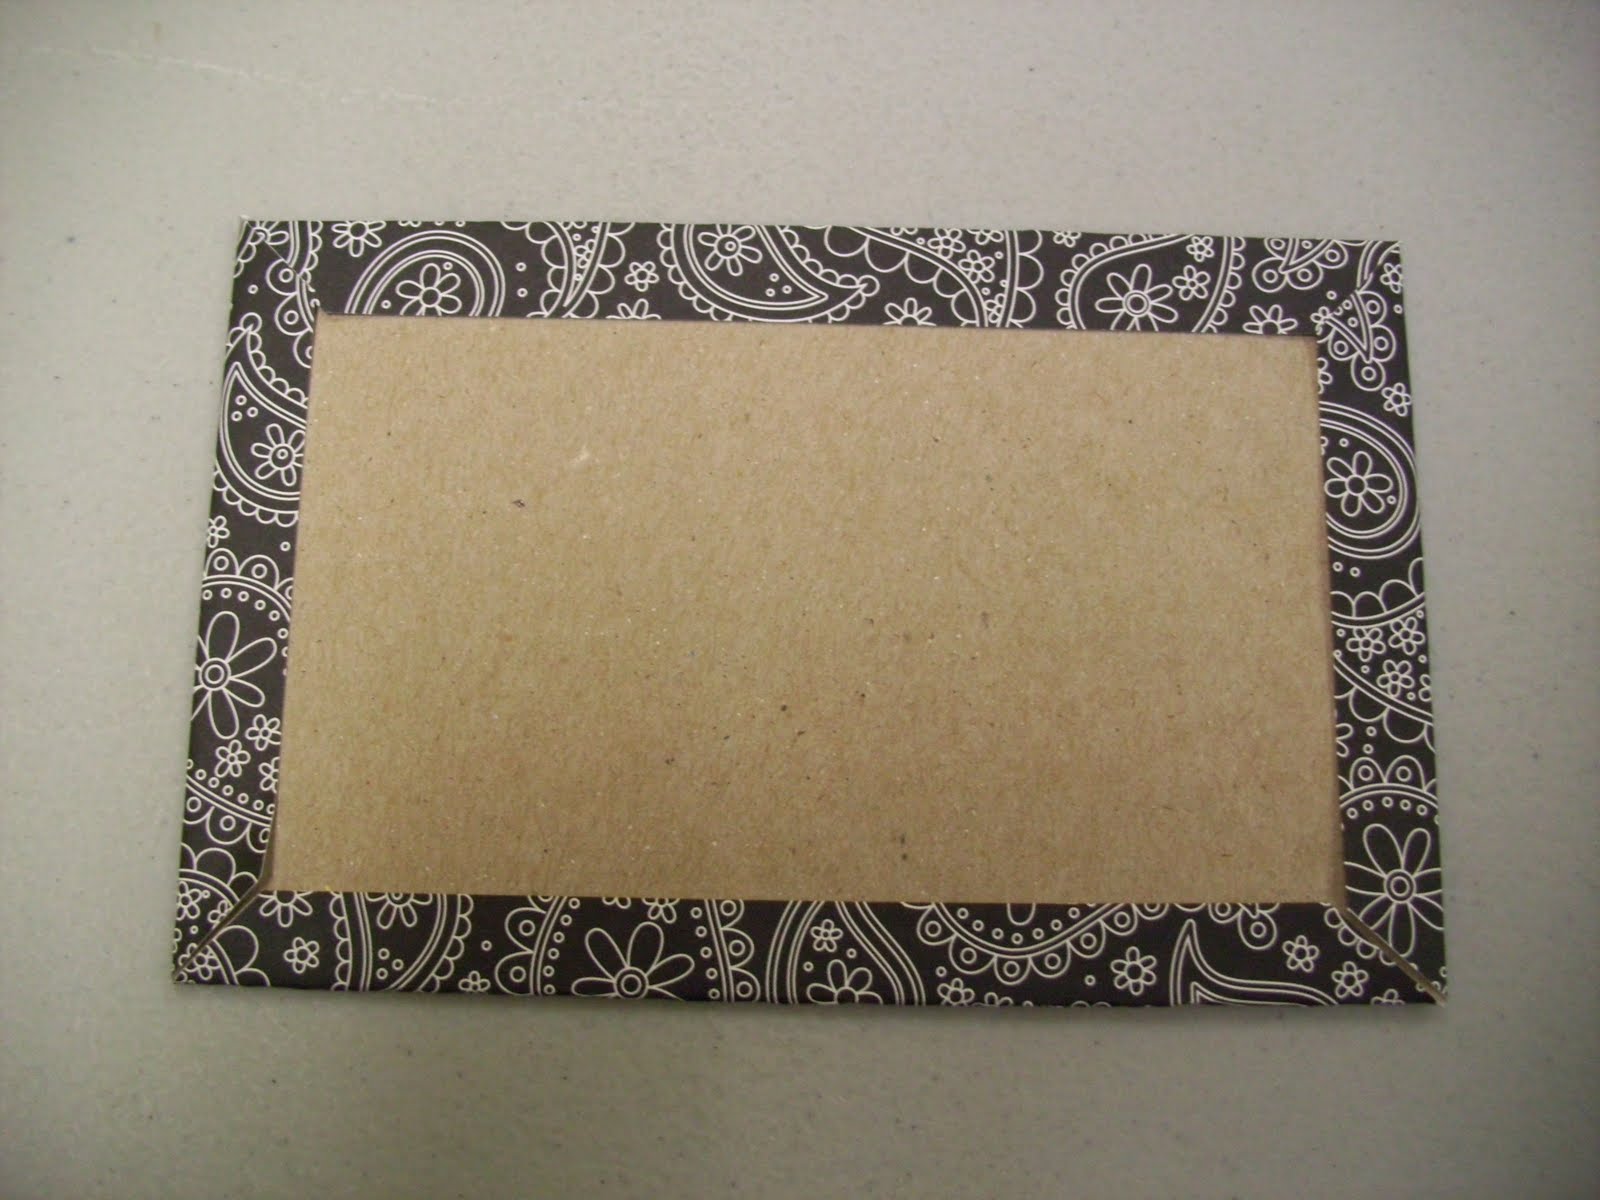
Glue patterned mat to front of box, and patterned mat to inside of box back. See above.


Apply adhesive to all side tabs of middle divider section, as shown above.


Glue solid paper mat to other side of divider.


Fold divider as shown above.


Glue divider inside box. I find it easier to glue the bottom flaps in and then glue down the side flaps. Make sure paper mat is on the front side of divider before gluing down, see below.


Insert tabbed divider papers in box.


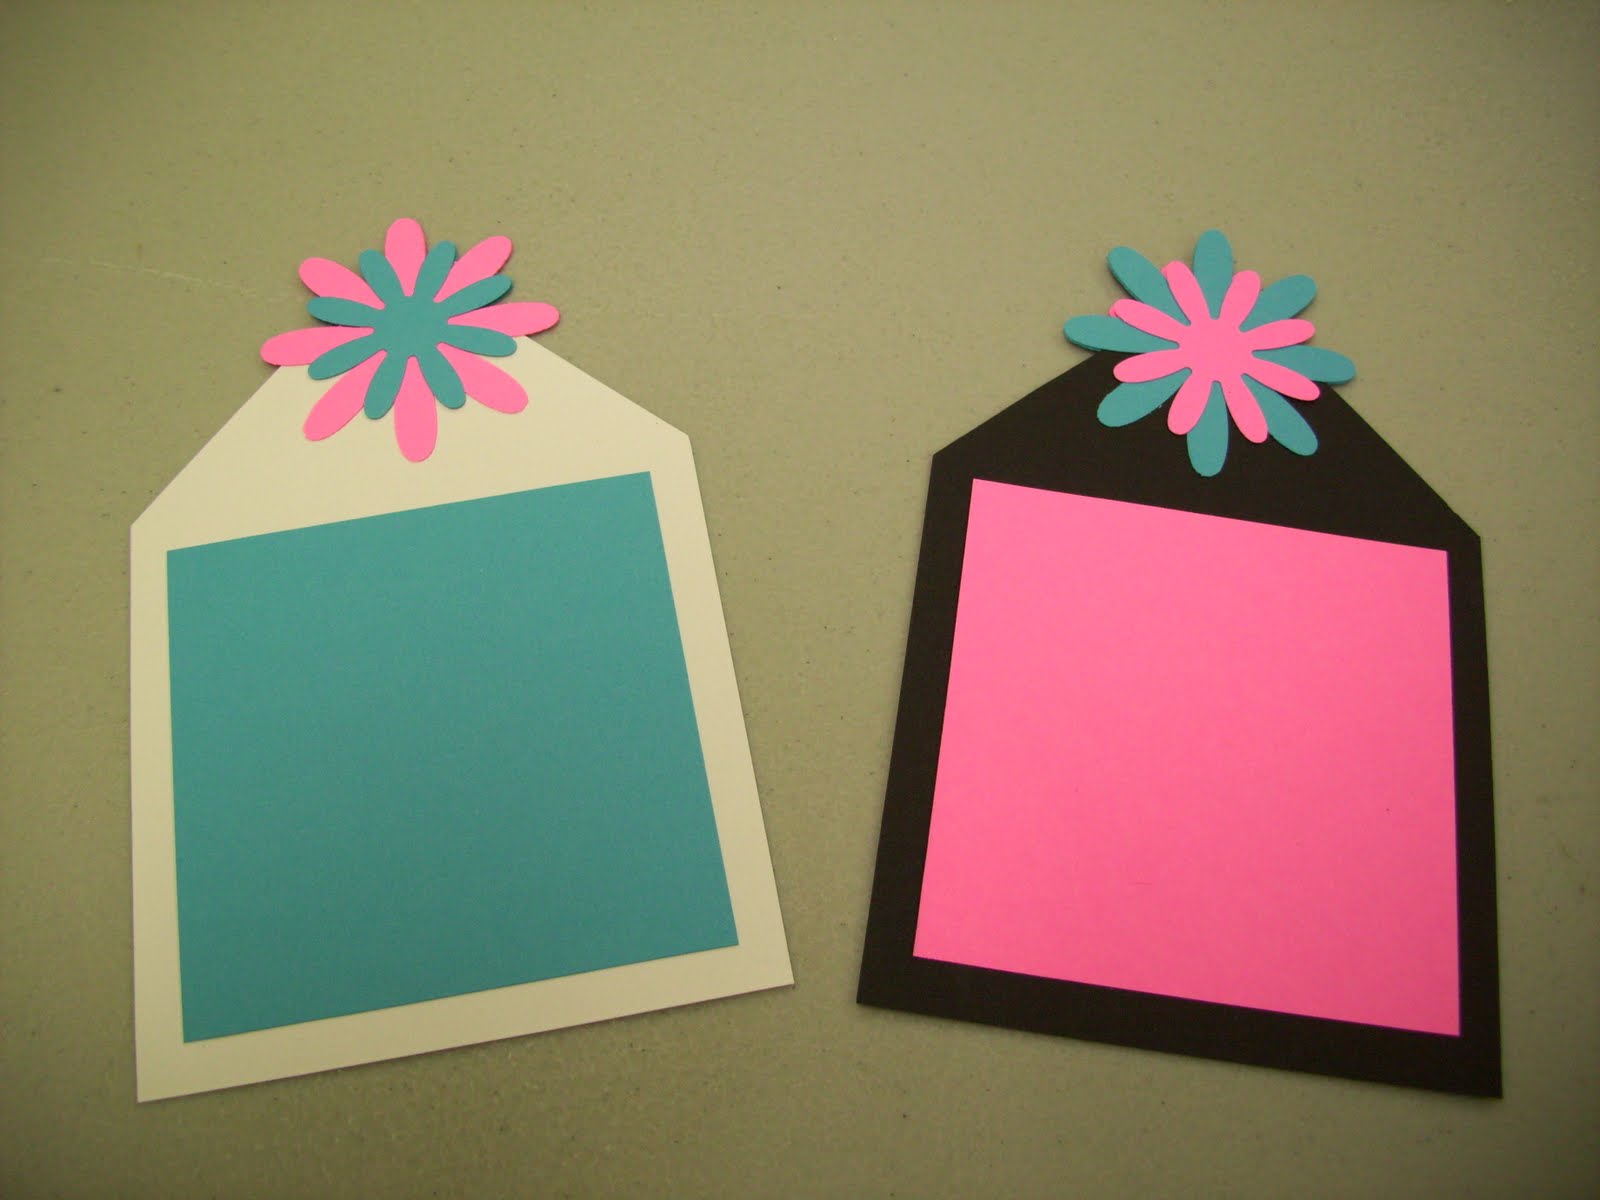
Glue decorative circle and ribbon to top flap of cards, as shown above. Fold cards and tie shut with ribbon. Stamp or decorate as desired.


Glue pattern paper to front and back of mini composition book, then glue edged piece to spine, as shown above.


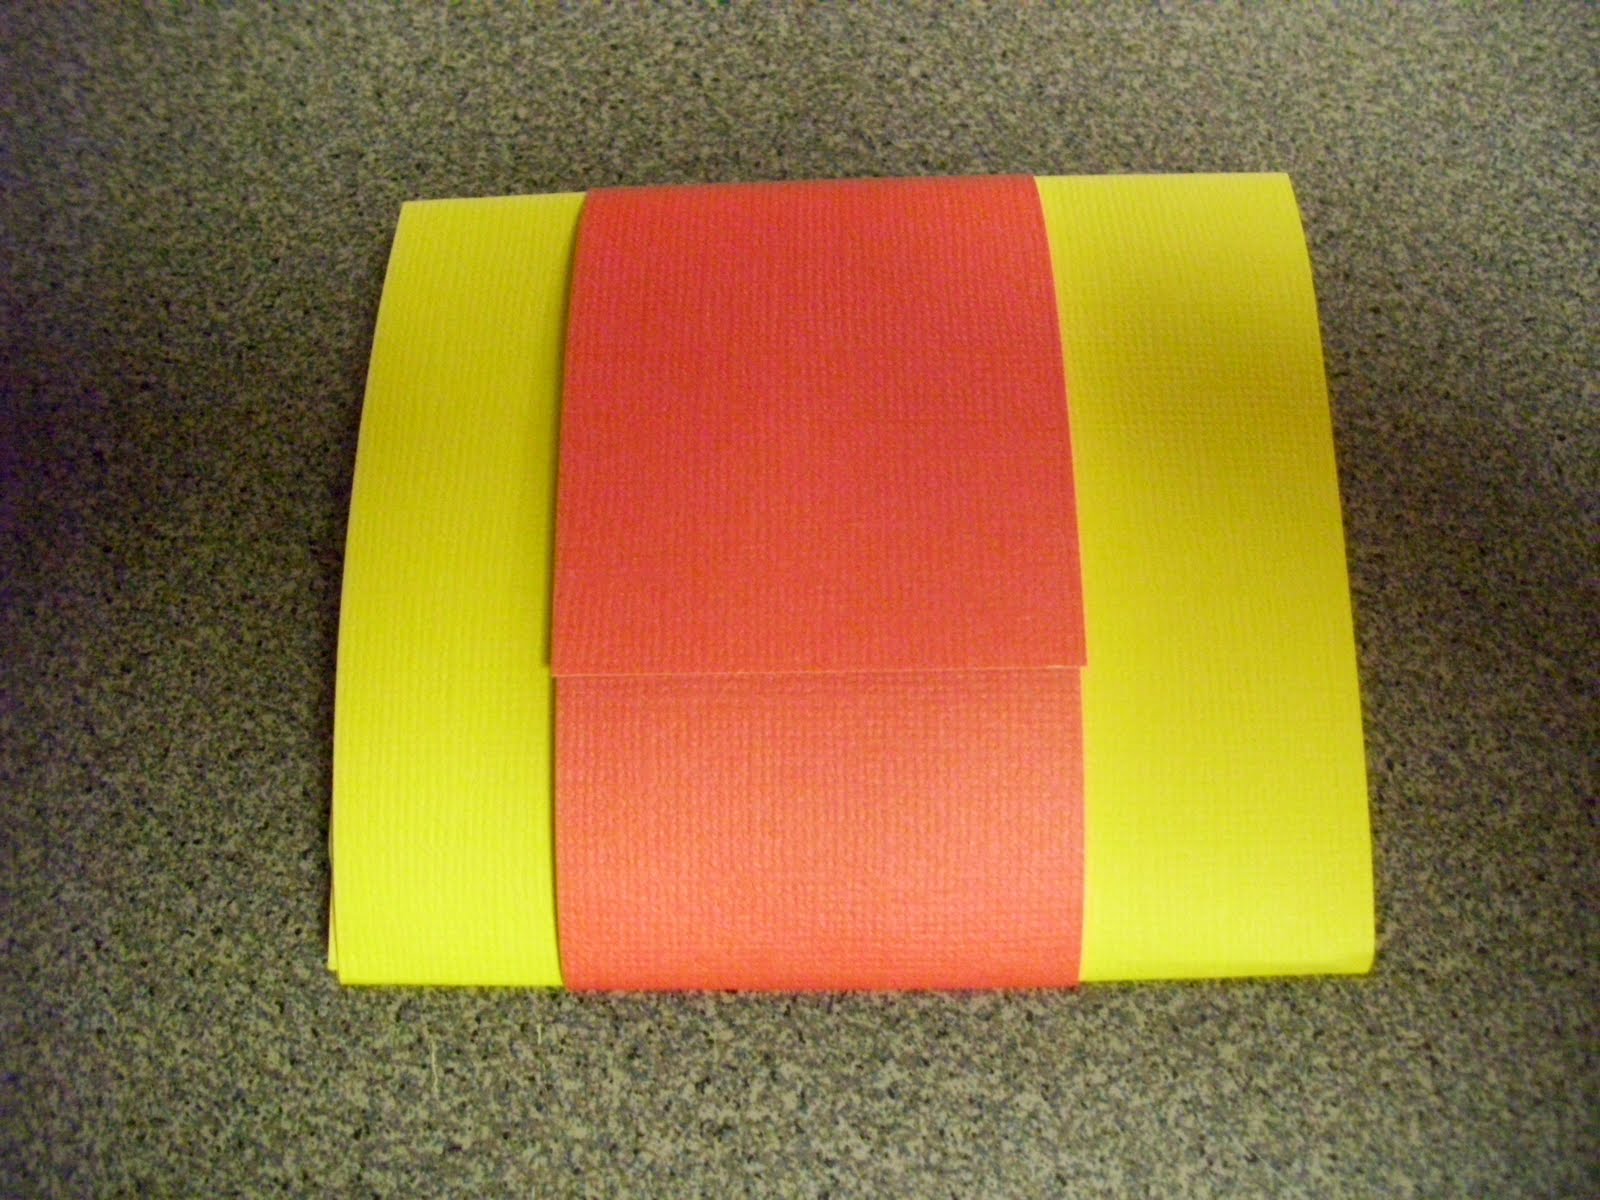
For post-it note holder attach post-it notes to middle section of cardstock piece, as shown above.


Glue paper mat to outside of bottom flap and attach velcro dot to outside bottom flap and inside top flap, as shown above.


Glue pattern paper mat to outside of top flap on post-it note holder.

Sunday, April 24, 2011


Wallet Mini Album


Fold cardstock pieces on score marks.


Apply glue or adhesive strips to one side of folded pieces as shown above.


Attach flaps to long cardstock piece, as shown above, alternating direction flaps open.


Glue pattern paper mats to outside of cardstock flaps, alternating patterns.


Glue pattern paper mats to inside flaps, as shown above.


Glue stamped ovals to larger cardstock ovals.


Glue ovals to flaps as shown above. Glue trim pieces to inside edges of flaps. Glue cardstock photo mats to flaps and then layer pattern paper mats on top.


Glue trim to outer flat edges of flaps, as shown above.


Glue decorative pieces on photo mats. (Will want to wait til you add pictures before gluing these down). You can stamp or write on tag and label, if desired.


Wrap cardstock strip around closed album, not too tight, you will want it to slide on and off album, and attach two ends with adhesive.


Apply glue or adhesive to full length of pattern strip of paper.


Wrap pattern paper strip centered on top of cardstock strip, as shown above.


Assemble flower, layering largest to smallest, alternating flower petals, and attaching pattern paper dot on top.


Bend up petals on flower and attach flower to band.

Monday, April 4, 2011

Sunburst Album Assembly Instructions


Accordian fold black and white album page strips, as shown above.


Place white strip down onto black strip, matching slits in white strip with valleys on black strip.


Album pages should look like above when fitted together and closed up.


Using the chipboard pieces and pattern paper covers, glue chipboard to wrong side of pattern paper.


Clip corners of pattern paper, leaving about 1/8 inch from corner of chipboard.


Apply glue or adhesive tape to all four sides of chipboard, as shown above. Fold in sides of paper.


Glue paper flaps down to chipboard.


Glue on mat, centering on covered chipboard piece.


Glue album insert to covered chipboard pieces, about 1/4 inch from inside edges, see picture above.


Glue book spine on.


Assemble tags, gluing on photo mats and flowers, then insert in album page pockets.