
Explosion Box Outside View

When lid is removed, album "explodes open", revealing a unique mini album with pictures and journaling.

Ink/distress edges of butterfly strips, if desired. Glue to inside/bottom edge of textured side of dark brown layer, as shown above. Bend out wings on attached butterflies.

Fold the tabbed pieces on score lines. Ink/distress all edges, if desired. Layer and glue together the three pieces, dark brown on bottom, then medium brown, tan on top, applying adhesive as described below:
Apply glue/adhesive to middle square only of dark brown piece (untextured side - textured side with butterfly strips should be facing down), center and stick medium brown piece on top of dark brown. Apply glue/adhesive to middle square only of medium brown square, center and stick tan piece on top of medium brown. This will be the box bottom.

Layout the pieces shown above: "Family" die cut; 1 light pink, 2 med pink and 1 dk pink butterfly; 1 lt pink, 1 med pink and 1 dk pink flower; 2 cardstock circles and 2 pattern paper circles; 1 cardstock square mat and 1 pattern paper square mat; asst. buttons; thin brown ribbon; printed saying. Ink/distress edges of all pieces, if desired.
Hand cut printed saying into sentence strips, see picture below. Ink/distress edges of all pieces, if desired.
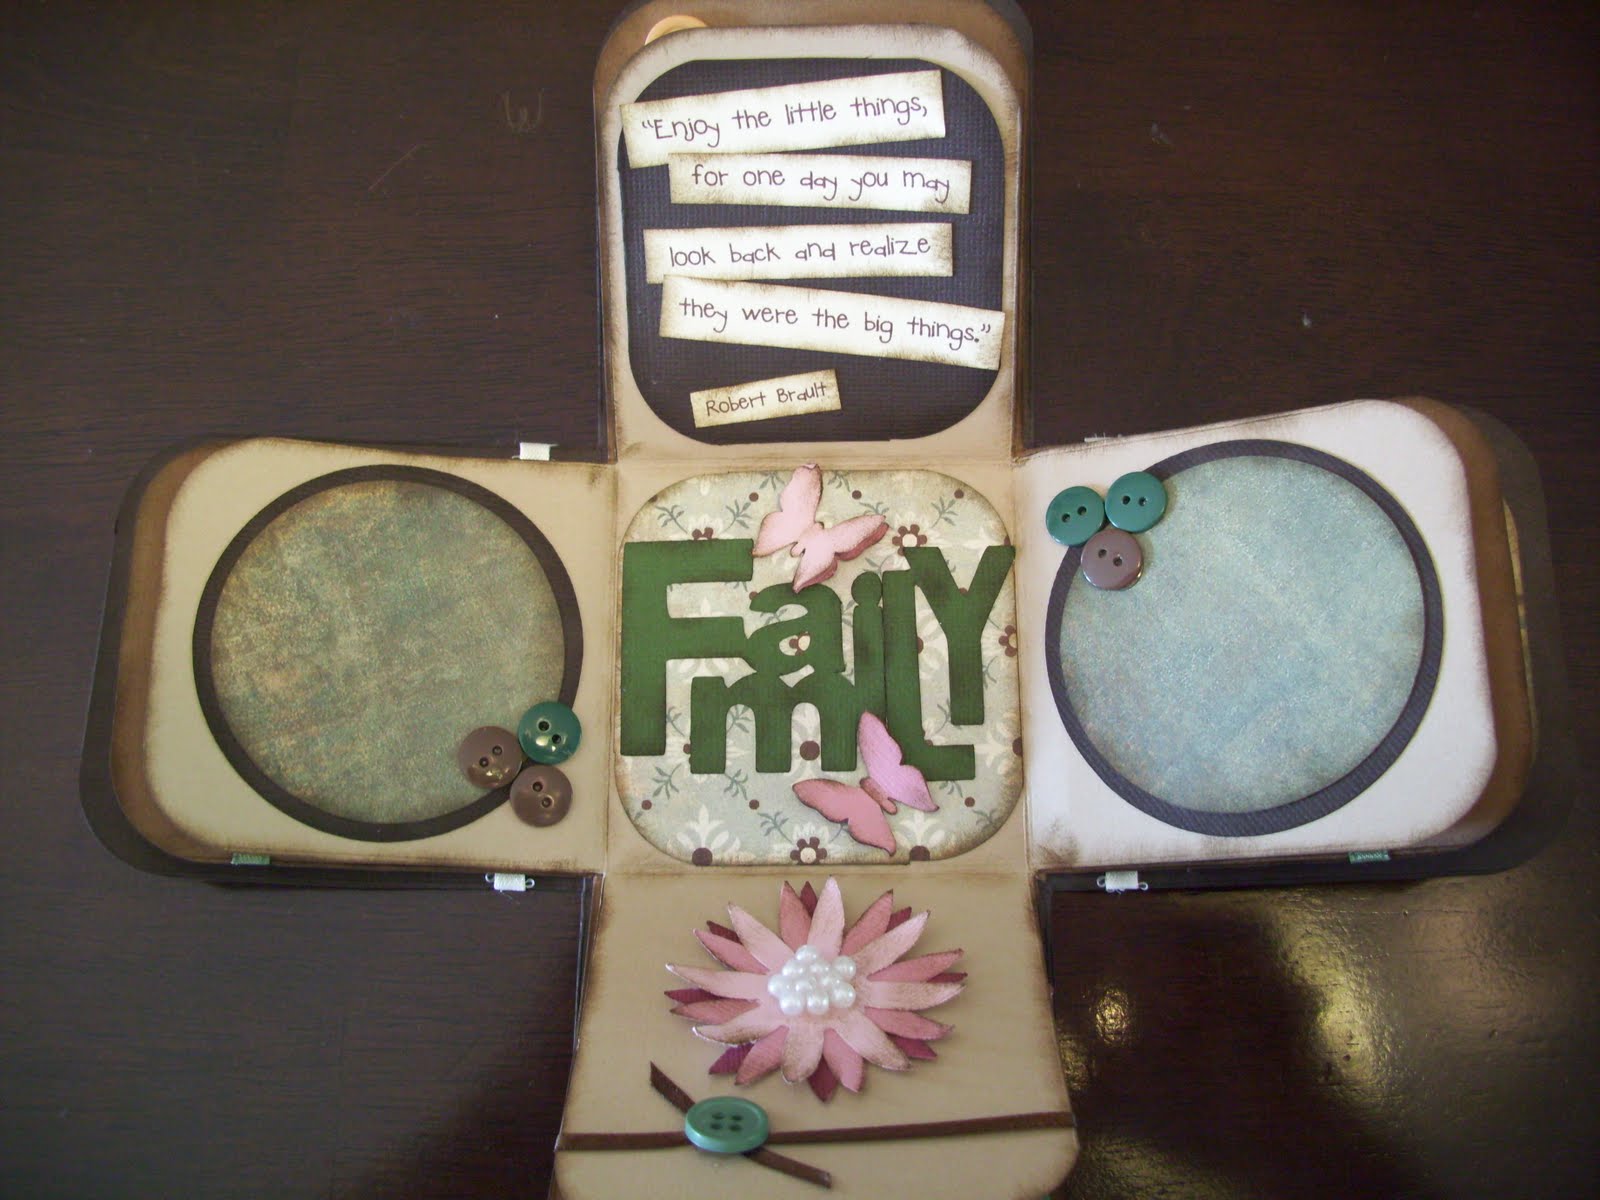
Assemble first layer (tan) as shown above. Embellish flower middle with pearls, glitter glue, buttons, etc.

Layout pieces shown above: 4 square picture mats in 2 different prints; 2 green ribbons, asst. buttons. Ink/distress edges of mats, if desired.

Assemble second layer (medium brown) as shown above.

Layout pieces shown above: 2 cardstock square mats; 2 pattern paper square mats, 2 pattern paper strips; 2 cream ribbons; 4 flowers ea of lt pink, med pink and dk pink; saying mat. Ink/distress edges of pieces, if desired.

Assemble bottom layer (dark brown) as shown above.


Close-up of bottom tab on bottom layer.

Layout lid pieces shown above. Cream lid; brown polka dot ribbon; 6 dk pink flowers, 3 ea med pink and lt pink flowers; 2 green butterflies. Ink/distress all edges, if desired.

Fold lid on score lines. Ink/distress all edges, if desired.

Glue flaps to inside of box lid, as shown above with paperclips.

If using liquid glue, use paperclips to hold flaps until glue dries. Trim off any excess flap pieces.

Wrap ribbon around box, using glue dots or adhesive of choice to adhere to box. Tie in front.

Assemble flowers as shown and attach to lid top. (layer 2 dark pink, 1 med pink and 1 light pink) Attach butterflies on flowers. Embellish flower middles with pearls, glitter glue, buttons, etc. Fold up all 4 sides of box bottom and hold up to fit lid on.
No comments:
Post a Comment